So last year I had mentioned to my dad that this year I would like to get a real tree. We used to get them when I was little and I thought it would be fun to have one again this year after so many years of having a fake one. So I had planned on Sunday for us to go and get one, but alas the weather decided to ruin my plans and when I woke up on Sunday it was snowing. And my dad was convinced that we would just set up the old tree. But I was not having that. So I decided to go ahead and decorate without a tree and wait to see what would happen the rest of the day. But of course I had to improvise until we got a tree....

then finally, it decided to stop snowing and I got my way!


So this year I decided making sharpie mugs and putting little mug cake starter kits in them would be a fun gift to give to my friends. It's personal and it's cake. What more could you want. I've done several sharpie mugs before and have used the same tutorial for all of them. This one is from Scribbles from Emily and it's fairly simple and allows you to wash the mug in the dishwasher, which is great. Except I'm too afraid to wash them in the dishwasher because I don't want them to get ruined. Haha. But it at least lets you wash them without the sharpie getting ruined. So here's how I did it:
Materials:
Mug
Oil based Sharpies (very important. I bought mine individually from AC Moore for about 3 dollars each)
Print out or drawing of your choice
Lead pencil
scissors
tape
oven
So first I got a mug. I bought this one from Big Lots for I think a dollar and it's perfect for the Wicked theme I'm going for...

and the sharpies...


and this is what it looks like after...


and ta-da!


I decided I wanted to add a little something extra with this gift and include a little mug starter kit with just the dry ingredients. The recipe comes from The Novice Chef and it is by far the best mug cake I've ever had. Seriously. And it's soooo easy it's ridiculous. So I just took a bag and added all the dry ingredients....


So the next gift I made is another one for my moms stocking, and it's super simple. I just bought cork coasters from Walmart for around 4 dollars and took some masking tape and paint and went to town...
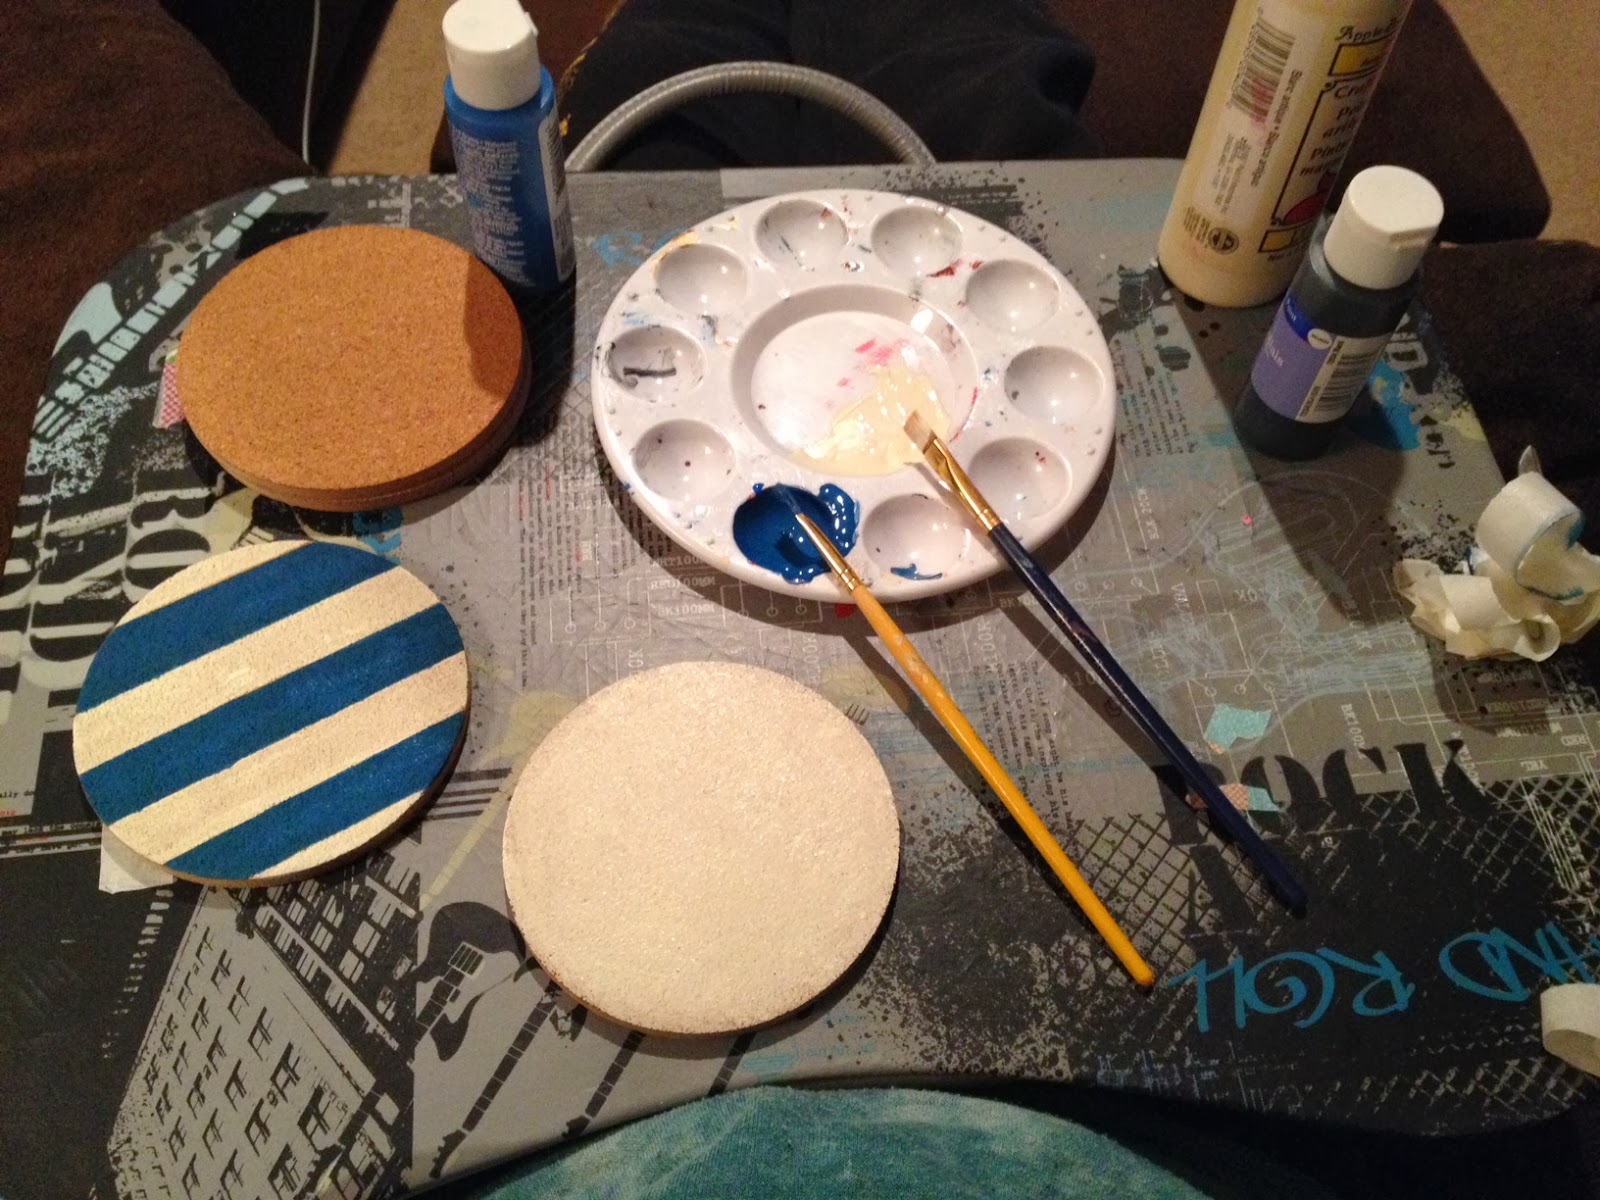

oh and don't forget to get your hands all messy with paint. I always manage to...

and here's some of my wrapping if anyone's interested. I love to use plain brown paper with bakers twine and some washi tape and got some awesome printable tags from Shanty 2 Chic.


So that's it for this week! I've still got a good bit to do before Christmas comes! A couple more DIY's and lots of cookies to make and some partying to do! Heck yeah! Hope you enjoyed these DIY's for today!
-Jaimee (:
I just did this, used oil-based sharpies, let it dry for 24 hours, then baked in oven as you described, used it, washed in dishwasher last night and used it again this morning. It looks fabulous and I am so excited to do more!
ReplyDeleteI LOVE your mugs! The Wicked one is amazing! I'm glad you liked the tutorial!
ReplyDelete